


Stencil & Stamp Tool
Shop Products


stamping step by step

STEP 1

STEP 2
Lower the stamp plate and place pressure on the stamp to adhere the stamp securely to the plate then lift the plate again.

STEP 3
Apply ink to your stamp. You can do this with the plate in position or remove the lid to apply your ink and replace it in position.

STEP 4
Lower the stamp plate and place pressure on the stamp. Lift lid to check impression and repeat Step 3 and 4 if required.
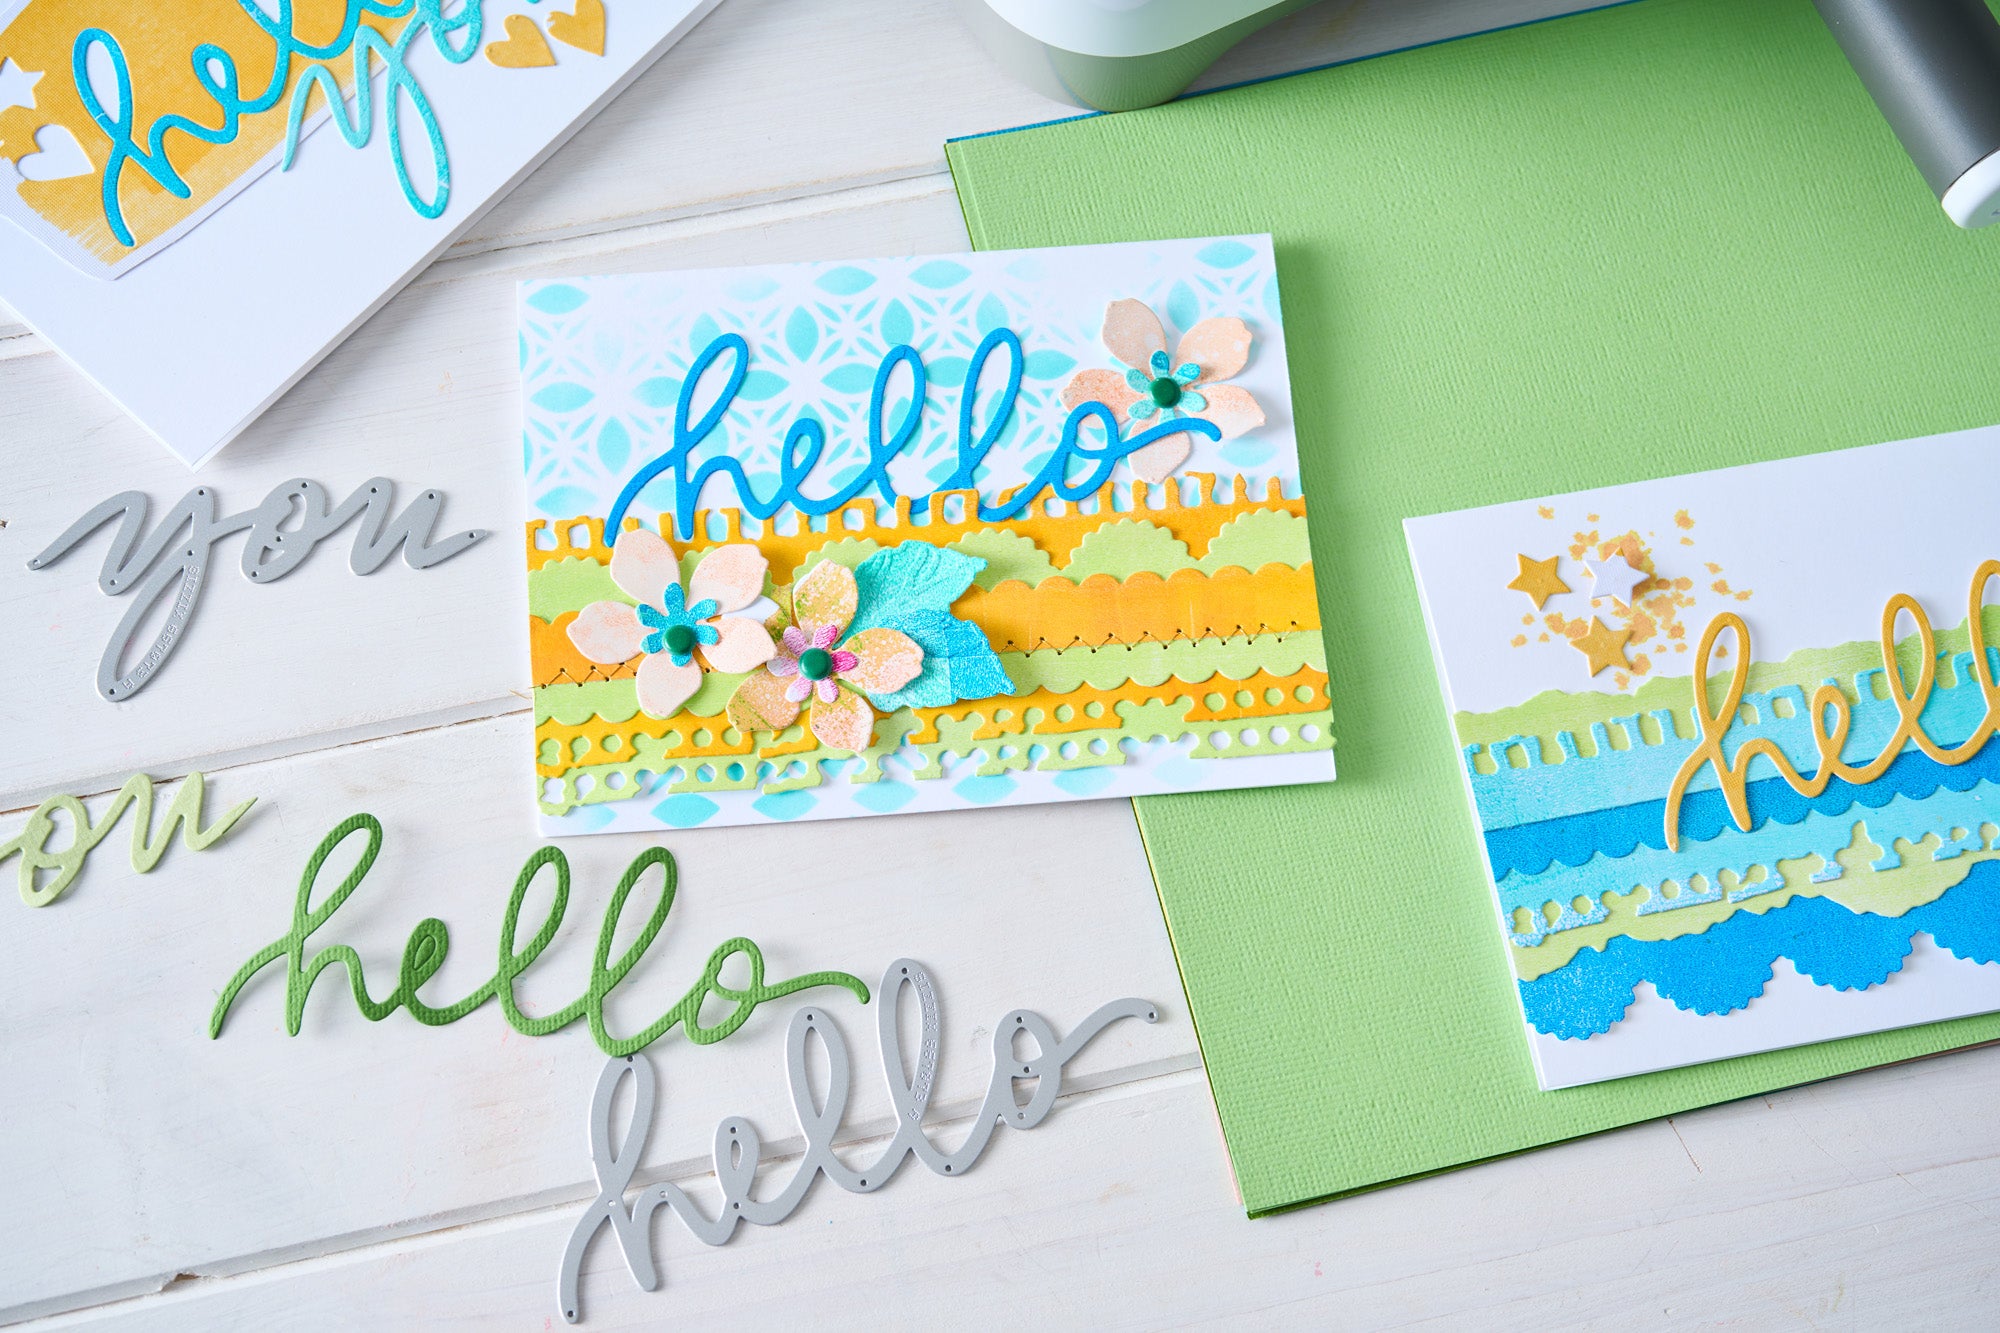
STENCILlING STEP BY STEP

STEP 1
Remove the stamp plate. Place your paper in position on the sticky grid sheet and place the stencil adapter into position on the hinge.

STEP 2
Place the stencil in position by aligning the holes at the top of the stencil with the two pegs on the bottom of the stencil adapter.

STEP 3
Apply the desired medium to the stencil to create your first layer.

STEP 4
Remove the stencil then repeat Steps 2 and 3 for each stencil layer until your project is complete.

Shop Layered Stencils
Shop Stamps


SHOP STAMP & SPIN ACCESSORY
With the new award-winning Stamp & Spin accessory, it's never been easier to create your own circular stamped designs and all-over patterns with precision results every time! Easily attaching via the hinge on the base plate of the Stamp & Stencil tool and compatible with most cling and rubber stamps, you'll find new and exciting ways to explore stamps in all your creative projects!
Must Have Products Alongside Your Tool

Universal Stencil Converters

Blending Tool Heads

Acrylic Paints
See what our Designers are Making with their Layered Stencils and Stamps


Sign Up to our Newsletters
